


TGB/Tutorials/Asteroids/Section1
From TDN
[edit] Asteroids TutorialWritten for TGB Version: 1.6 |
|
[edit] Starting From Scratch
|
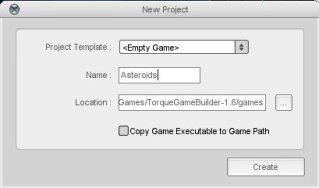
[edit] 1. Create a new projectYou can call the project whatever you like. For this tutorial, it will be simply Asteroids. After you do this, exit the level builder. |
 |
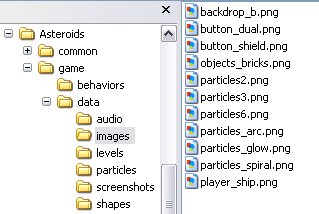
[edit] 2. Copy the image filesDepending on where you installed TGB, go now to the Behavior Playground folder and in the game/data/images subfolder copy the needed images shown in the right hand figure to the corresponding data/images folder in your new project. Then start the level builder. |
 |
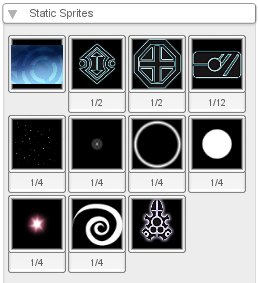
[edit] 3. Create your ImageMapsIn the level builder create tab, click on the "Create a new ImageMap" button and add all 11 image files to your project. The default names for all the images have been kept. For everything outside of the background and ship images, you will need to go into the image builder and set the image mode to CELL. For certain imagemaps, you will have to manually set the Cell Count X and Cell Count Y values. |
 |
[edit] 4. Create an AnimationWhile we don't have any particle effects yet, one of them will need an animation. Let's add that now. Click on the "Create an Animation" button and choose the particles_arcImageMap. In the animation builder, click on the green plus icon to add all frames to the animation. Set the Frames Per Second to 10 and leave the cycle animation checked. Click save to leave the animation builder. |
 |
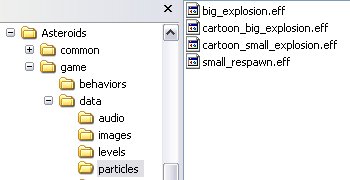
[edit] 5. Add the Particle EffectsExit the level builder again and go back into the data/particles folder of the Behavior Playground. Copy the 4 .eff files as shown to the right and add them to the particles folder of your project. When you restart the level builder again, you should see the particle effects in the create tab. |
 |
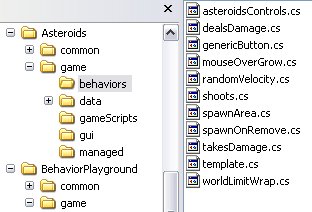
[edit] 6. Don't forget the behaviorsIf you have the level builder open, close it and add the behaviors used in the demo level from the Behavior Playground. The figure to the right shows which files you should copy. We won't be using every behavior from this list right away, but they are all needed. Note: These behaviors are from the Behavior Playground project and NOT from the Astral Objects game. |
 |
|
[edit] Recreating the Level
[edit] Populating the SceneThe following is a list of objects you need to now add to the scene. Included on a separate page is the final properties of each object. Some of the behavior properties can only be first set when you add the appropriate object to the scene. For example, you have to add the projectile object to the scene and name it before you can select it in the shoots behavior of the player ship. Position X: 0 Y:0, Size X: 100 Y: 75, Layer 31Scripting Name: background Now add the player_shipImageMap with the following properties: Click Here
|


