|
Introduction
Torque X is a completely new engine designed from the bottom up to harness the power of XNA. Written entirely in C# and based on proven Torque Technologies, the result is the most powerful C# game engine on the planet. The original engine has been improved significantly since its first release.
There are now 2 separate versions of the engine: 2D and 3D. TorqueX 2D (TX2D) and TorqueX 3D (TX3D) are built on top of the same core framework. However, both ship with their own solutions, unique code, and builders. The builders are editors that allow you to modify your game without using code.
Downloading
To obtain TorqueX, go to your GarageGames Account Page. Look for your TX product, and click Download.
Installation
Once your download is complete, double click on the setup file to start the installation process.
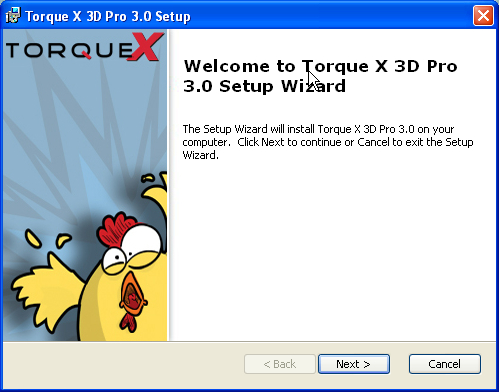
You will first be greeted by our Welcome screen. Go ahead and click Next >
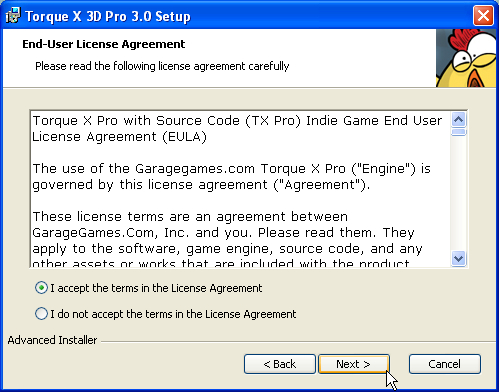
Read through our EULA (End-User License Agreement) then click Next >
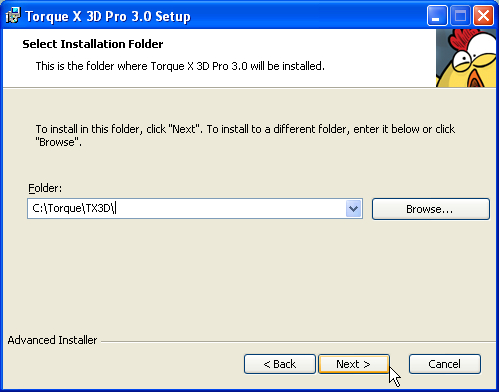
Next, you will be prompted to select an installation directory for TorqueX. I usually keep all of my torque products in a single directory and keep the naming as short as possible. Whatever you decide is fine, just remember the directory for future reference.
The rest of the tutorials and guides will use C:\Torque\TX3D and C:\Torque\TX2D
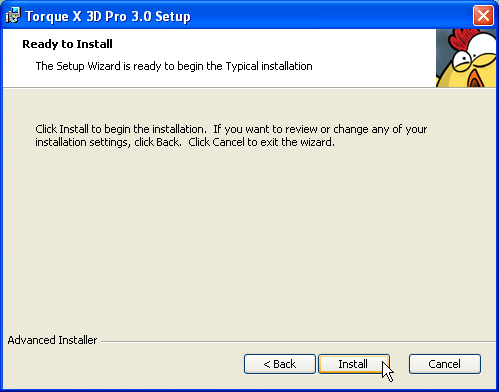
You should now be ready to install. If you need to make any other changes, click on < Back. Otherwise, click Next > to begin the installation.
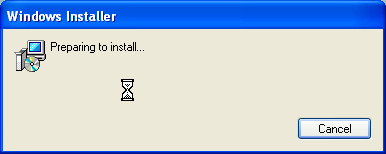
Wait while TorqueX is installed

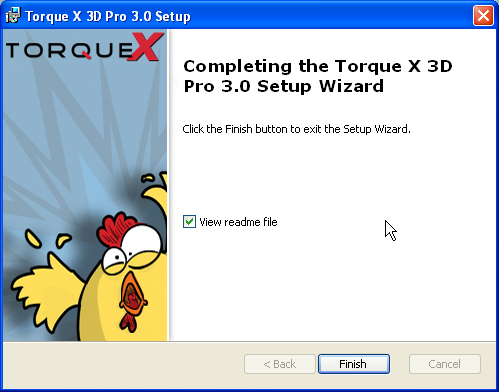
If all went well, you will see the Installation Finished screen
Conclusion
This tutorial covered the installation of TorqueX. You should now have Visual C#, XNA, and TorqueX installed on your machine. This means you are now ready to start developing your games! You can start experimenting on your own, or continue on with the rest of the tutorials and guides in this documentation.
|


