|
Creating the Project
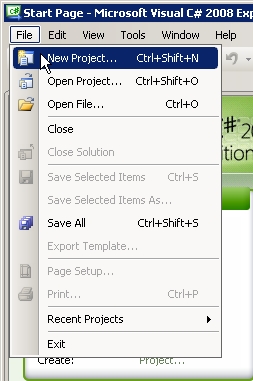
To create a Torque X game, we first need to create a "project" for it. This is done in XNA Game Studio 3.0, specifically in Visual C# Express. Let's get that started first. From the Start Menu, select: All Programs -> Microsoft XNA Game Studio 3.0 -> Microsoft Visual C# 2008 Express Edition, use the menu to select File -> New Project. This brings up the New Project window. (Shown in Figures 1a and 1b)
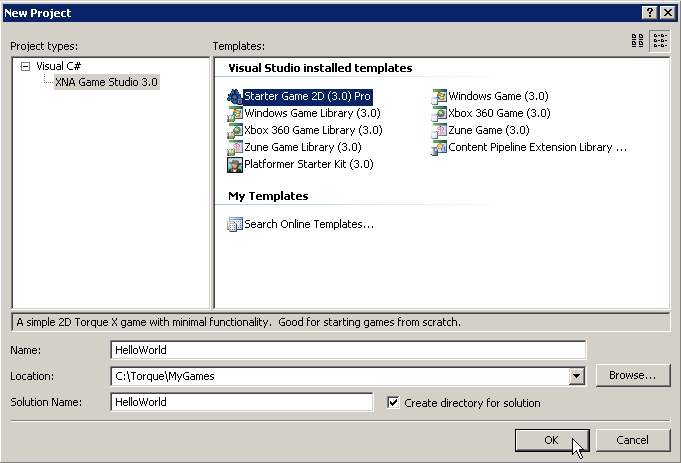
We want to create a simple Torque X game, so select the StarterGame 2D (3.0) template (only single-click it to select it -- double-clicking will automatically create the project with the default name). Then, in the text field for Name, enter HelloWorld. If you want to create the project somewhere other than the default project folder, update the location.
Click the OK button to create the project. After the project is created, build the project by pressing the F5 or selecting Build > Build Solution from the menu to. This will compile game code and produce the myschema.txschema file, needed by Torque X Builder. If you chose to use F5, the project will build then immediately run. If so, you will see the default StarterGame 2D scene (Shown in Figure 1c).
 |  |
| Figure 1a | Figure 1b |
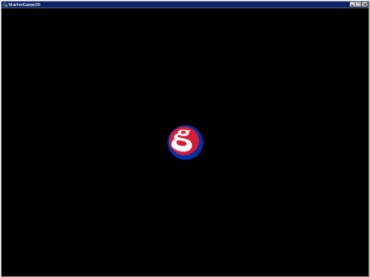
Figure 1c
Creating a Material
Now that our project is created, we can start Torque X Builder, the visual editor that works with the Torque X engine to help make designing your game easier. You will want to run the TXB executable (Shown in Figure 2a). If you see the startup screen, select Open (Shown in Figure 2b). If you don't see the startup screen, select File -> Open Project. (<== Component Tutorial).

Figure 2a
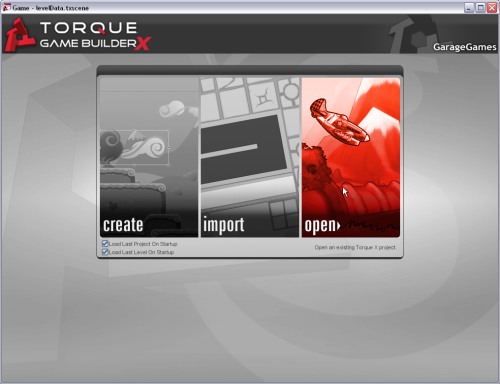
Figure 2b
In the "Open A Torque X Game Project" window, navigate to the folder of the project you created in XNA Game Studio 3.0. Go to the Game folder, and select the file Game.txproj, which is a TXB project file that was automatically created when you created the project in Game Studio Express with the 2D StarterGame template, and click the Open button to open the project (Shown Figure 2c).
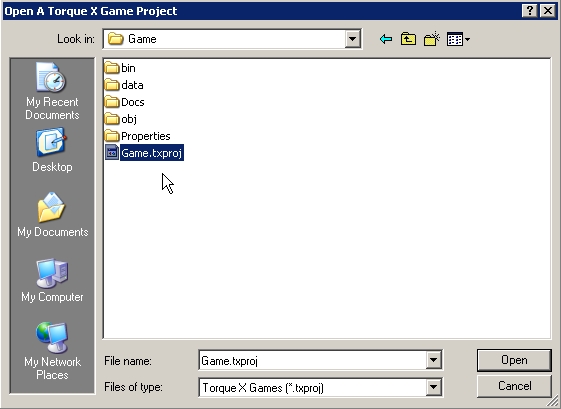
Figure 2c
There's not a whole lot going on in there yet, so let's add some art. Save the following image (Shown in Figure 2d) from your browser to your local drive (desktop or any other folder). You can add it by dragging the image onto your editor or within TXB using the "Create New Material" button.(<== Component Tutorial)

Figure 2d
This image is a PNG file, which lets us use transparency for the corners where we'd like to see whatever background is behind the image, rather than a background color hardcoded into the image. In Windows XP, dragging the image onto TXB like this automatically creates a Material. A Material is simply the image plus some other information that Torque X needs in order to render images when the game is running.
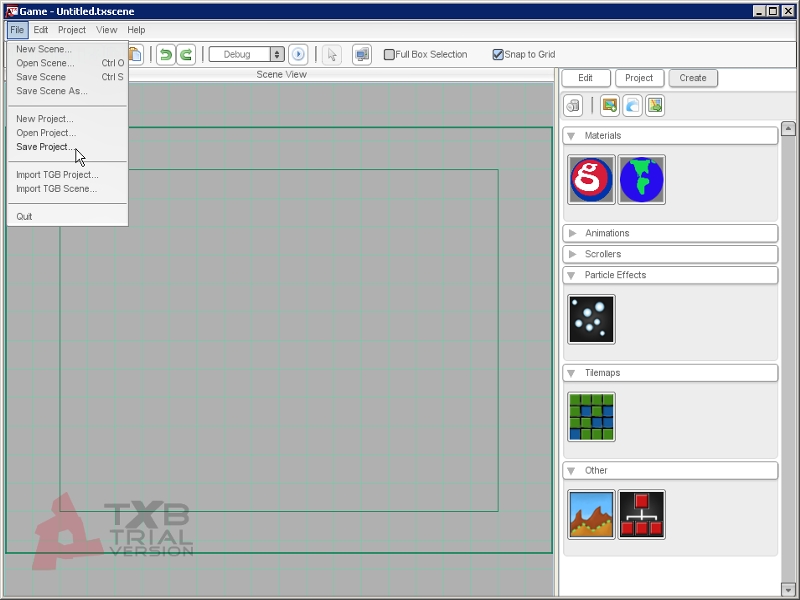
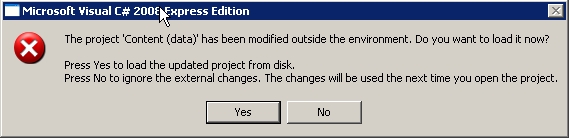
Whenever you add a new image you are updating the project, so you need to save the project before it will work. From the menu, select File -> Save Project (Shown in Figure 2e). Whenever you update the TXB project file, Game Studio Express needs to reload the file. Depending on what software version you are working with, Visual C# will immediately throw an error dialog on your screen (Shown in Figure 2f). If so, click on Yes to update the project.
`
Figure 2e
`
Figure 2f
With "safety first" in mind, Game Studio's Visual C# will throw another message box, this time asking if you want to update the 'Content (data)' portion of your project (Shown in Figure 2g). Of course, click on 'Yes' to to continue. Once you get past the pop-ups, you will notice your game project solution has been updated to include the new world.png material (Shown in Figure 2h).
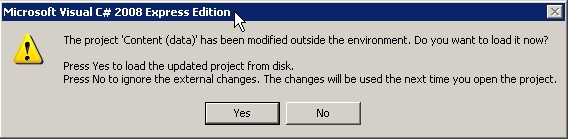
Figure 2g
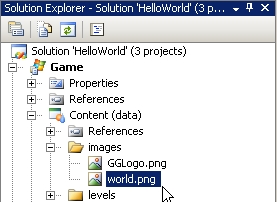
Figure 2h
Creating Our First Scene
Just creating that material makes it possible to render the material, it doesn't actually put anything in the game scene to render. Let's do that next. Go back to Torque X Builder. From the Create pane in TXB, from the Materials rollout, drag the worldMaterial into the center of the Scene View. This creates a static sprite that displays the material with our world image (Shown in Figure 3a).
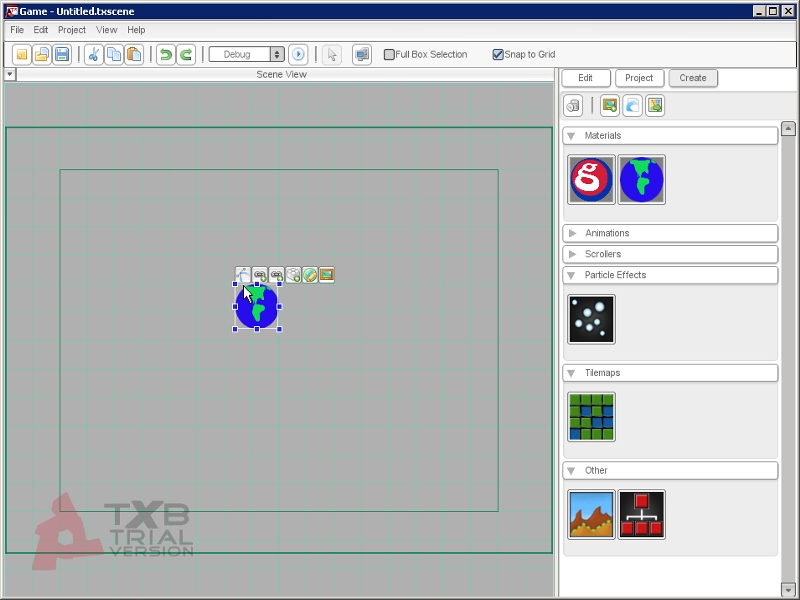
Figure 3a
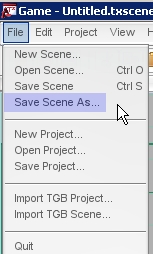
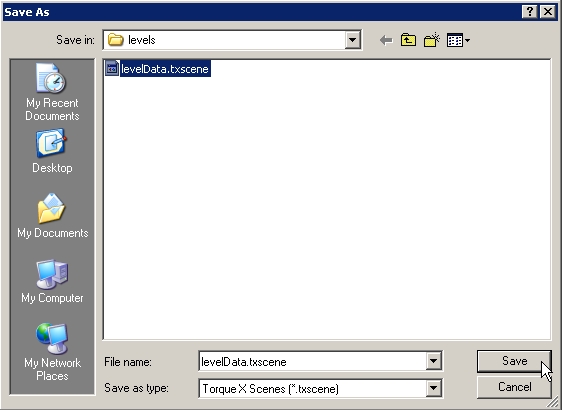
Now that we have something in our scene, let's save it to a scene file. From the menu, select File -> Save Scene As (Shown in Figure 3b). Select the levelData.txscene file that's already there (which was created by default with the project), and click the Save button (Shown in Figure 3c). In the popup that warns you that you're overwriting an existing file, answer Yes.
 |  |
| Figure 3b | Figure 3c |
Now let's see our scene in action. Minimize TXB (so your computer's video card doesn't have to work to render both TXB and the game we're going to start), and go over to Game Studio Express. From the menu, select Debug -> Start Debugging (Shown in Figure 3d). This runs the game, and we can see our lonely planet (Shown in Figure 3e).
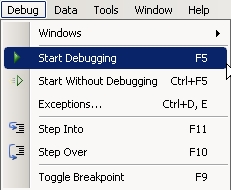
Figure 3d

Figure 3e
When you're finished observing the game in action, close it by either clicking on the "X" in the upper right corner or by using the Game Studio Express menu to do Debug -> Stop Debugging.
Earth Movement Component
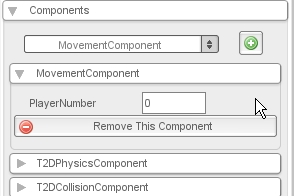
Right now, there's not a lot going on with this game. Let's change that by adding some player input. Go back to TXB. Select the world sprite in the Scene View. Now switch to the Edit pane (Shown in Figure 4a). Expand out the Components rollout (Shown in Figure 4b). Components are "chunks of functionality" that you can attach to an object in Torque X.
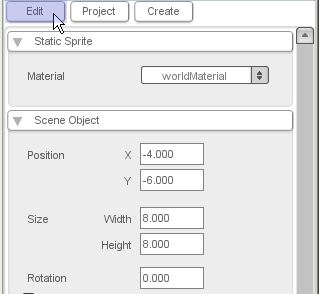 | 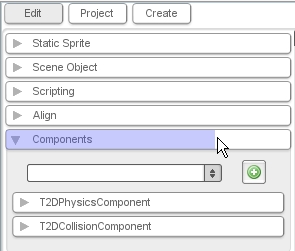 |
| Figure 4a | Figure 4b |
There are already some components attached to the object by default, but we want to add a new component. In the selection box, choose MovementComponent and click the green "+" button (Shown in Figures 4c and 4d). This adds a component that comes with the StarterGame project template, which makes an object move based on keyboard input (WASD or arrow keys) or an XBOX 360 Controller (left analog stick).
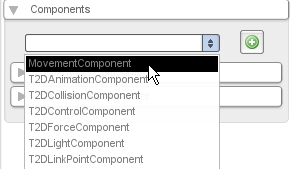 |  |
| Figure 4c | Figure 4d |
Let's see this movement component in action. With the menu, choose File -> Save Scene. Now minimize TXB, go to Game Studio express, and use the menu to select Debug -> Start Debugging. You should be able to move the World around (Shown in Figure 4e).
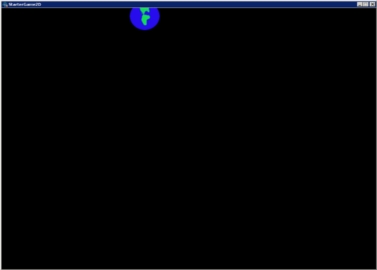
Figure 4e
Planetary Friend Sprite
Now the world can move around, but it's obviously quite lonely. More than anything else, it wants someone to say hello to it. Let's create a character that can wave hello to the world. Start by saving the stick figure (Shown in Figure 5a) from your browser onto a local folder. It may be hard to see since the image is transparent with white symbols. Hover your mouse above the "Figure 5A" words. You can then drag it onto TXB or manually add it with the "Create New Material" button:
guy.png
Figure 5a
As you can see, this image is made up of different frames of animation. Let's tell TXB about that. Go to TXB, and the Create pane, and the Materials rollout. Double-click on the guyMaterial. This brings up the Material Builder window (Shown in Figure 5b). Set the Image Mode to "Cell". This sets the material as an animation material, and gives us some more choices which we can use to set it up.
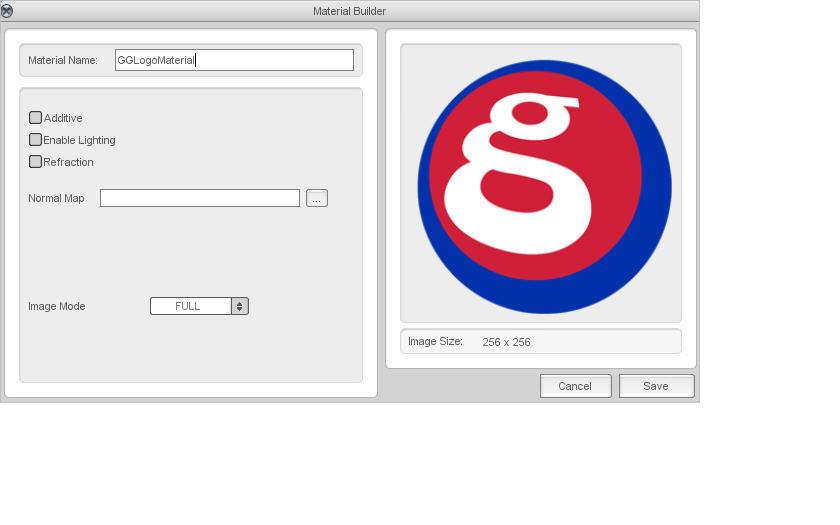
Figure 5b
For Cell Count X, enter 4. For Cell Count Y, enter 3. Your modification of the material is complete (Shown in Figure 5c). Click the Save button. Now the material can be used as the basis for an animation, but we need more than the frames to make an animation. We need to decide which frames to use in which order. Click the "Create a new Animation" button (Shown in Figure 5d).
Figure 5c
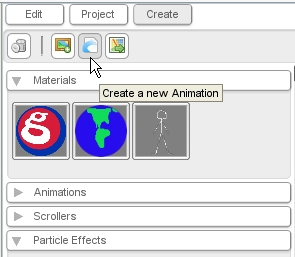
Figure 5d
This brings up the "Select Material" window. We've only got one choice here, so it's an easy choice to make: select guyMaterial from the list, and then click the Select button (Shown in Figure 5e). This brings us to the Animation Builder window (Shown in Figure 5f). You create the animation by dragging the frames from the bottom of the window into the sequence at the top. The top row of frames has the guy moving his foot a little bit. Let's use the four frames from the top row to create an animation.
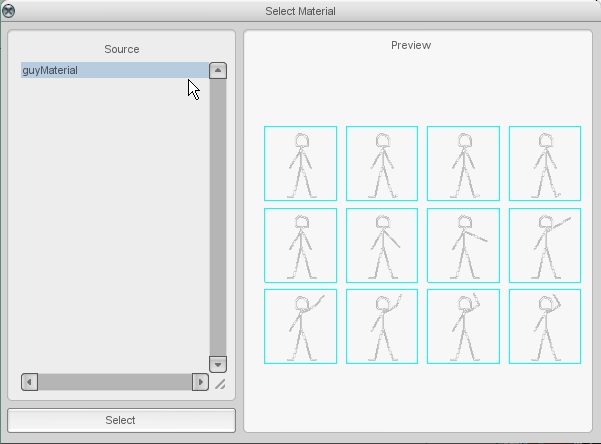
Figure 5e
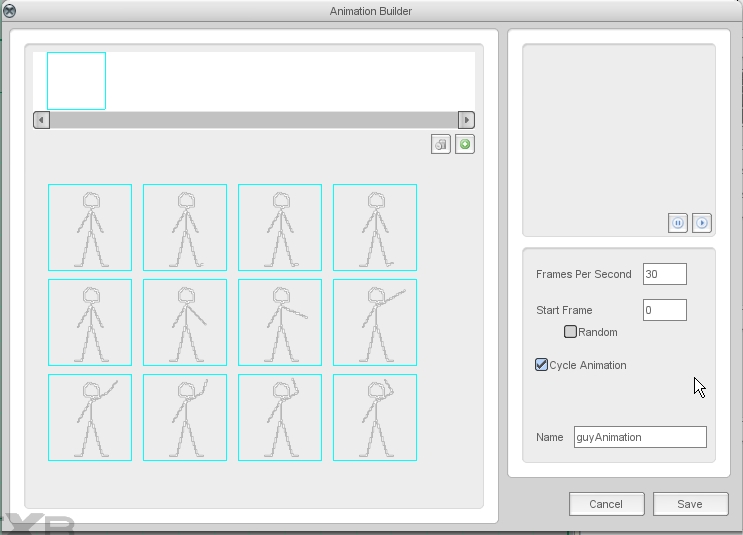
Figure 5f
Start by dragging the top left frame into the sequence. Then drag the second, third, and fourth frames into the sequence. Now our animation has a guy that's lifting his foot up, but in order to actually tap his foot, he'll need to bring it back down again. To do that we can just use the same frames in reverse! Drag the third, then the second, then the first frame into the sequence.
Now we have some awesome foot-tapping action. But it's going a little fast, so set the Frames Per Second to 15. In the Name textbox, change the name to idleAnimation. Check your final results (Shown in Figure 5g), then click the Save button. Now you have a new Animation in the Create pane. Drag it into the Scene View to create a new animated sprite (Shown in Figure 5h).
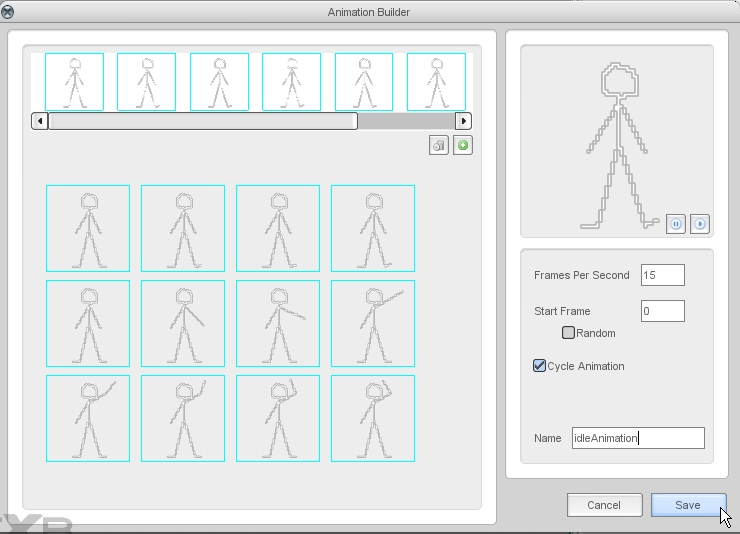
Figure 5g
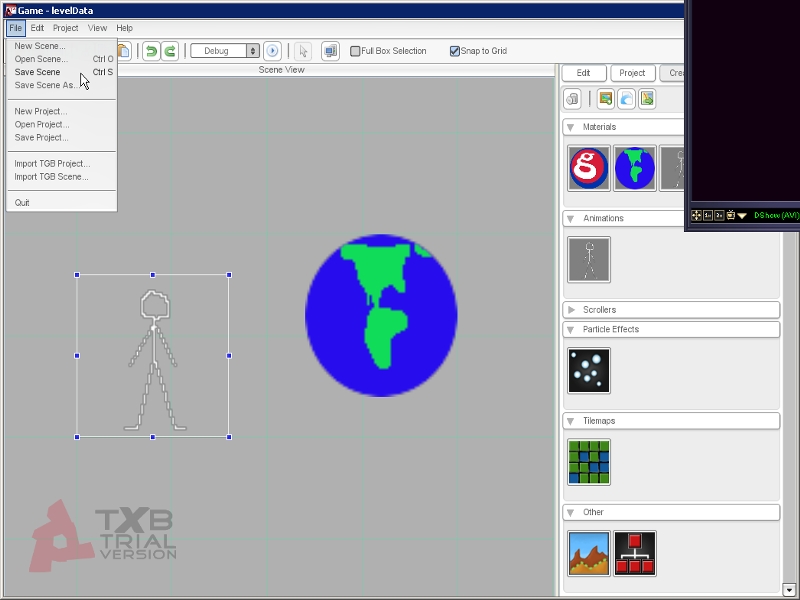
Figure 5h
Save your scene/project. Minimize TXB, go over to Game Studio Express. You will be notified of a required project reload. Click yes to continue. Run the game to see how your animation looks (Shown in Figure 5i).
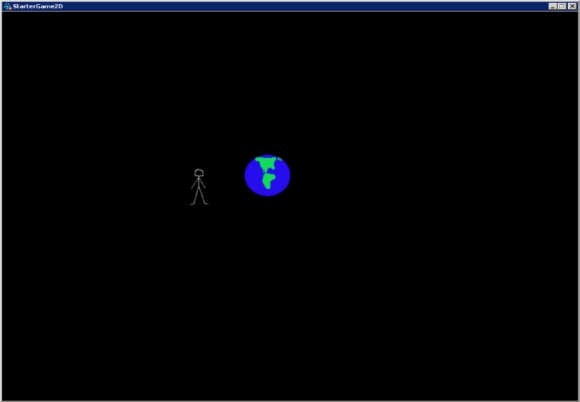
Figure 5i
Creating Additional Animations
Text description
Wave Custom Component
Text description
GSE and TXB Working Together
Text description
Extending Animation From GSE
Text description
Finalizing Details
Text description
Conclusion
Text description
|


