|
Introduction
In this document, you will learn how to set up background images for use in a scroller. Controlling the speed and getting that cool parallax scrolling effect are of course topics that will be covered.
Alright, let’s see how to get some stuff up on the screen!
The Level Builder
Opening a Project
To start, open up T2D.exe into the Level Builder. By default, the Level Builder will start with the last project that was loaded. The default project that loads up the very first time TGB is run, is called T2D. If you still have T2D as your current project, great! If not, go to File...Open Project and select T2D from the list.
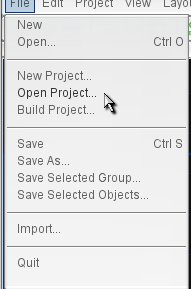
Figure 1.1
You should now have an empty screen with the default T2D loaded content as seen on the next page in Figure 1.2:

Figure 1.2
Learning the Basics
To start off, grab the backgroundImageMap (Figure 1.3) from your Static Sprites rollout. Drag it into the scene view. In the case of this image, it just happens that the default image size is perfect for the default camera view size. To get the background to completely cover the camera view: click on the edit tab on the side bar and in the Scene Object rollout and correct the position to 0,0 (next page, Figure 1.4).

Figure 1.3
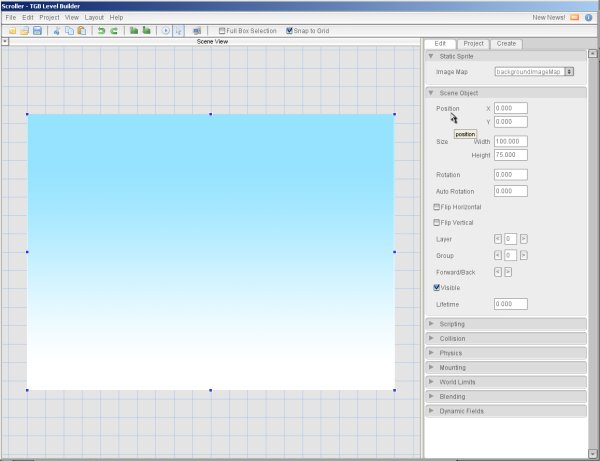
Figure 1.4
Before we leave the edit tab, in the same section of the rollout (Scene Object) change the layer to 30.
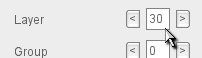
Figure 1.5
Note: TGB uses a layer system to determine which items in a game are going to be viewed in front of everything and which items are going to be viewed behind everything. TGB has 32 layers to choose from – the smaller the layer number, the more in front the object is. All objects when they are initially brought into the level default at layer 0 – the front-most layer.
Ok, back to the Create Tab! Let's add our first Scroller object. In the Scroller rollout, drag the first cloud in the list into the scene view.
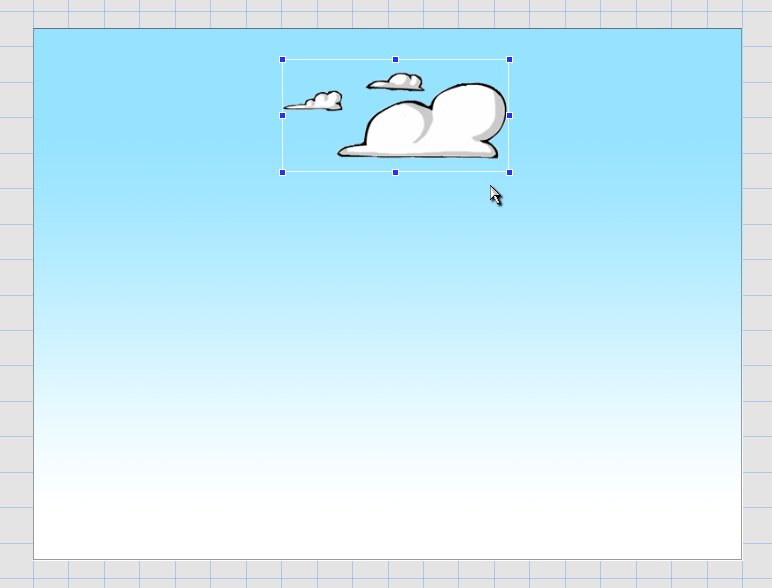
Figure 1.6
With the cloud still selected, click on the edit tab again. Now we can edit the properties of this object.
In the Scene Object rollout, edit the position to 0, -20, the size to 100, 35, and the layer to 5. (Figure 1.8)
Our clouds should now look like the picture below. (Figure 1.7)

Figure 1.7

Figure 1.8
Now it's time to actually do what we set out for in this tutorial – make it scroll! In the rollout named Scroller (at the top just above Scene Object), you can see fields for editing the basic properties of scrolling. Let's start simple and just play with the speed. For this to look good, let's set the X scroll speed to 5. And surprise, you can actually see it scroll in the scene view! Feel free to play around with the speed. When you are done, set it back to 5.
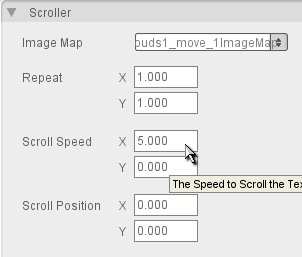
Figure 1.9
At this point, let's save what we have. Go to File > Save As.... In the menu, name your file scroller and click on Save File.
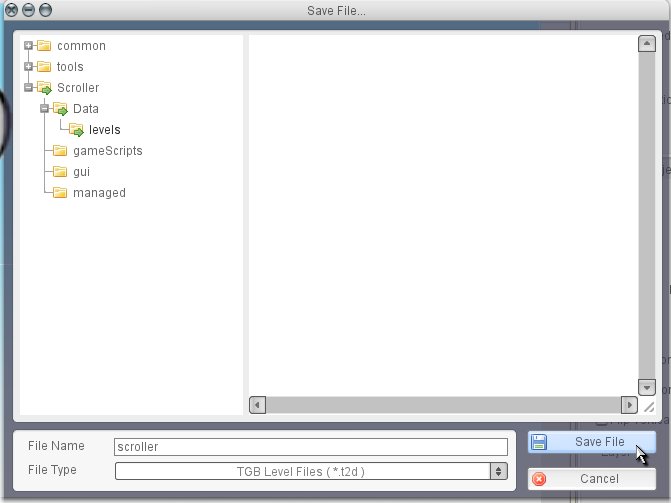
Figure 1.10
Good, our level is now saved. If you want, you can now click on the play button in the toolbar and see our simple level as it appears in game.
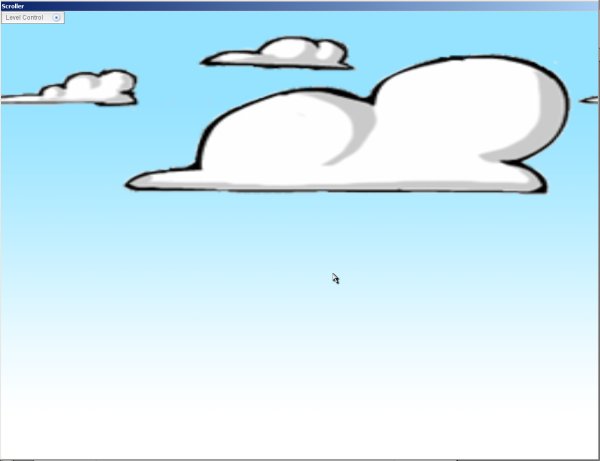
Figure 1.11
Now that we have the basics down, let's get working on a much nicer looking level!
Turn it up a Notch
Combined with TGB's multiple layer capabilities, we can create some great looking scrolling levels. Let's continue with the level we have and add more.
From the Scroller rollout, drag the grass into the scene view.

Figure 1.12
Set the position, size and layer as seen in Figure 1.13.
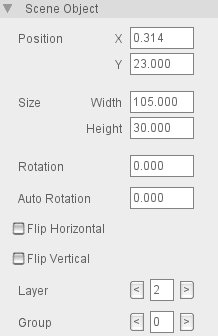
Figure 1.13
Go back to the Create Tab, and drag the mountains (from the scroller section of course) into the scene view. We want to have this appear behind the grass scroller. Set the position, size and layer as seen in Figure 1.15.

Figure 1.14
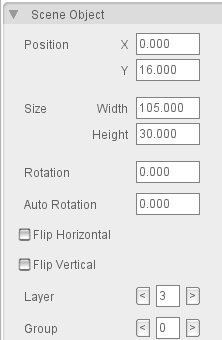
Figure 1.15
Following the same procedure, add the tree as a scroller, and 2 sets of clouds. See Figures 1.17, 1.19, and 1.20 for the necessary position, size and layer to add them to. Of course, you can play around with the look and size of the individual scroller objects yourself.

Figure 1.16
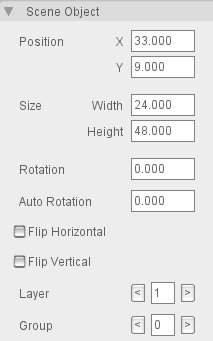
Figure 1.17 - Tree Scroller
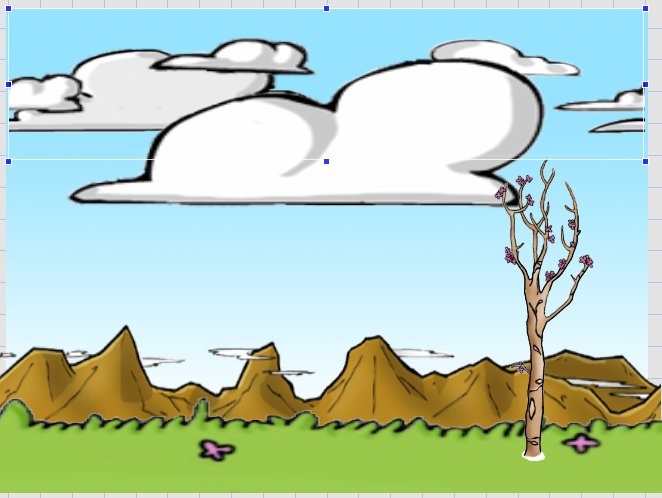
Figure 1.18
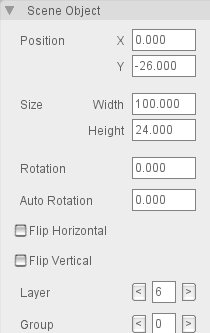
Figure 1.19 - 2nd Cloud Scroller
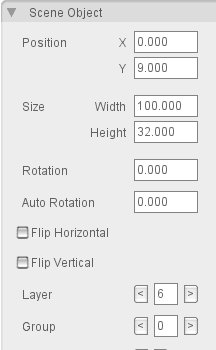
Figure 1.20 - 3rd Cloud Scroller
An important reminder: Some objects, like the grass and the mountains, scroll beyond the camera view slightly. Keep this in mind when creating your own scrolling levels, it can be very obvious if a scroller reaches it's boundary within the camera view!
If you have been following the Figures to set your objects within the scene, you should now have something like this:
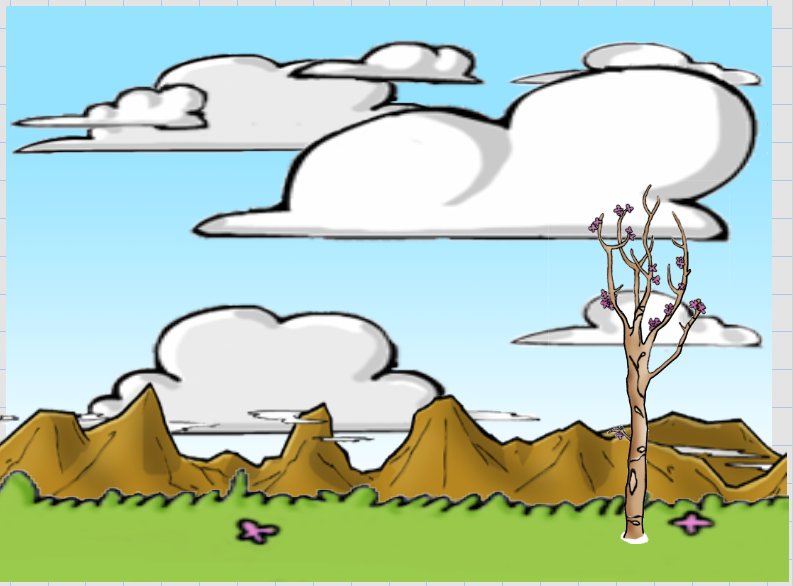
Figure 1.21
Get it Moving
Let's turn on the scroll ability for the rest of our objects. Here are some example scroll speeds for X:
| Grass | 7 |
| Tree | 7 |
| Mountains | 4 |
| 1st Cloud (layer 5) | 5 |
| 2nd Cloud (layer 6) | 2 |
| 3rd Cloud (layer 6) | 2 |
Wait, notice something wrong with the current scene? The way we set the tree scroller up is wrong! It's easy to just place a tree down like a static sprite and forget that it needs to scroll outside of the camera view. To fix it, go back to the edit tab and change the tree properties to Figure 1.22:
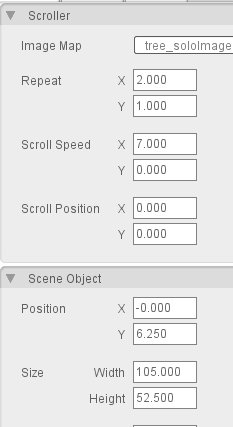
Figure 1.22
Since we stretched the tree graphic out quite a bit in width, we can make up for that by setting the Repeat X to 2. Play around with the repeat values to get a feel for how it works.
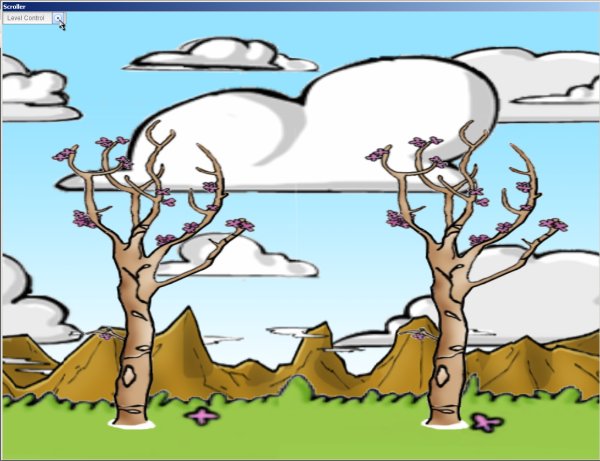
When you are happy with what you have, remember to save and press the play button to see your level in all it's scrolling glory.
Conclusion
Hopefully everything important about scrollers is clear to you now. Keep in mind to add an image to the scroller rollout, the image map has to be full, not cell. If you have done other basic tutorials, you can add a “player†sprite to the mix and get a good feel for how a potential scrolling game might play. For another great example, load up the scroller demo and take note of how it handles scrolling backgrounds. Instead of scrolling objects, tile layers with wrapping turned on (through scripting) are used. A topic like that is beyond the level of this tutorial though.
Thanks for Reading!
|


