|
Introduction
In this document, you will learn how to mount objects to each other via the Level Builder. This tutorial covers all the basics of mounting and is intended for complete beginners to TGB. Have fun!
The Level Builder
Opening a Project
To start, open up T2D.exe into the Level Builder. By default, the Level Builder will start with the last project that was loaded. The default project that loads up the very first time TGB is run, is called T2D. If you still have T2D as your current project, great! If not, go to File...Open Project and select T2D from the list.
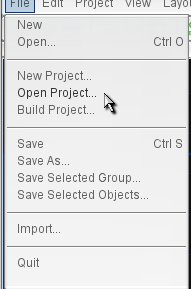
Figure 1.1
You should now have an empty screen with the default T2D loaded content as seen in Figure 1.2:

Figure 1.2
The scene view background colors might change in the tutorials's figures to provide optimal contrast. You can configure the color to your liking as well under Edit > Preferences... in the Level Editor tab. With that out of the way, let's start with a simple example!
Make it Rain
From the static sprites rollout, drag the chowclouds1 image map into the scene view and inside the thick dark blue-lined rectangle overlayed on the grid. This rectangle is called the camera view.
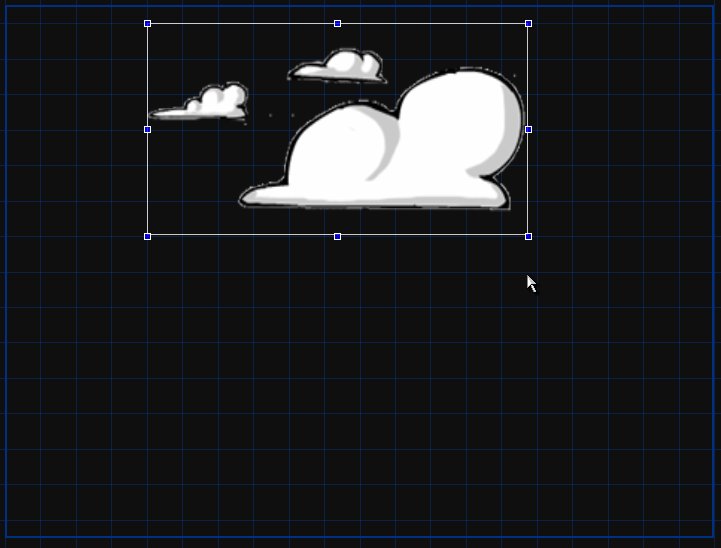
Figure 1.3
Increase the size of the image slightly. After that, scroll down in the Create Tab to the particle effects rollout. Find the rain.eff effect and drag that into the scene view as well. Increase the horizontal size of the rain so it matches the length of the large cloud. In the quick edit tab, find the mount button as seen in Figure 1.4.
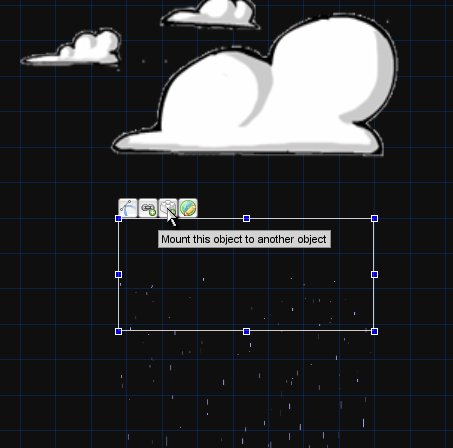
Figure 1.4
After you click the button, the particle effect's midpoint is now attached to the cursor. Left click on the lower portion of the cloud to complete the mounting operation. Yes, it's that easy!
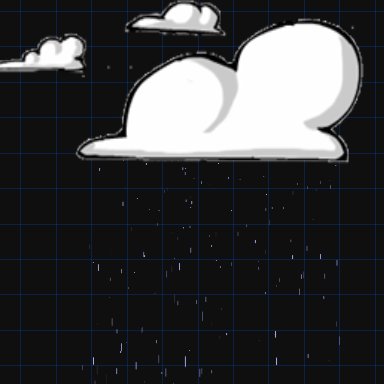
Figure 1.5
If you wish to check if the particle effect is truly mounted, select the cloud. In the quick edit tab, press the “Edit this objects link points†button. You should now see a small block with the number 1 where you originally clicked to mount the particle effect (Figure 1.7).
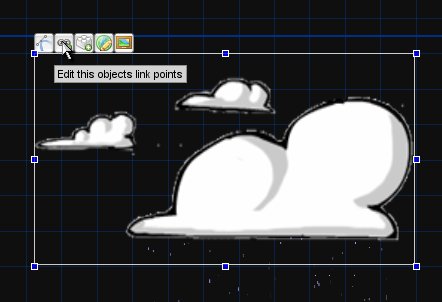
Figure 1.6
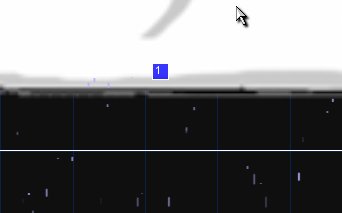
Figure 1.7
Click on the Selection Tool icon in the toolbar to return out of the edit link points mode.

Figure 1.8
Now drag the cloud over to the top left corner of the camera view. As you can see, the rain followed as well. Click on the edit tab and in the Physics rollout, change the Velocity in X to -10.
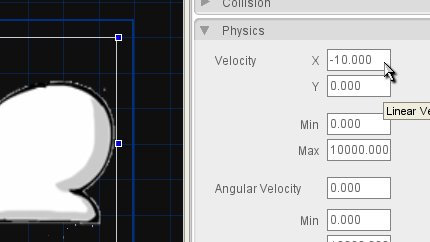
Figure 1.9
Save your level (under File > Save As...) with whatever name you wish. Now press the play button in the toolbar. The cloud and rain, which is mounted to the cloud, are moving across the screen! With object mounting it is easy to have multiple, now connected objects share similar properties, like velocity values.
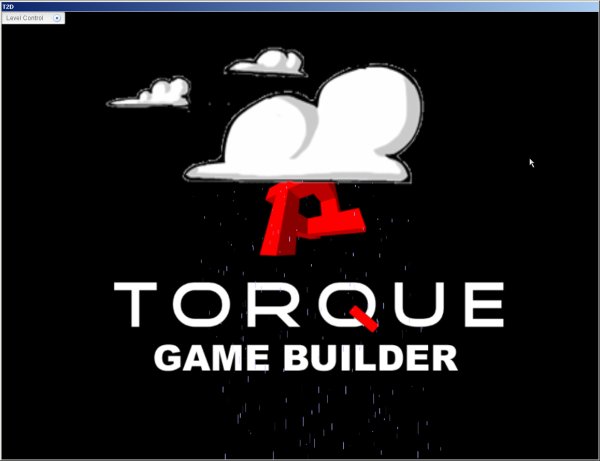
Figure 1.10
The next Level
Good job, we have the basics now covered. Ready to learn some more advanced mounting techniques? Start off by creating a new level. This can be done either by the “Create a New Level†button in the toolbar or with File > New.
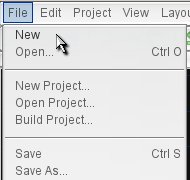
Figure 1.11
Now you have a fresh, new level to work in (all within the same T2D project of course). Scroll down to the rollout called Other in the Create Tab. The first object of the three shown (Figure 1.12) is called a SceneObject. A t2dSceneObject is the base class from which all objects, like static sprites, are dervied. Drag the SceneObject into the middle of the screen, preferably at location 0,0.
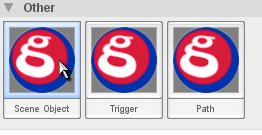
Figure 1.12
After you have done that, you should see a green bordered square.
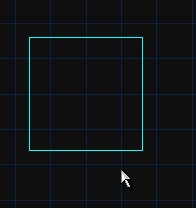
Figure 1.13
A different way to Mount
The following will be a slightly different way to mount objects than shown at the beginning of this tutorial. We don't want you to get bored after all. In the quick edit tab, select the edit link points button.
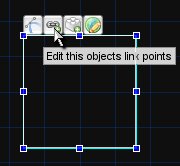
Figure 1.14
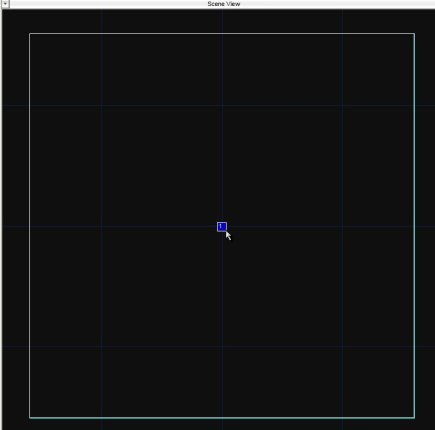
Figure 1.15
Click in the center of the square to add a link point. This will be given the number 1 as seen in Figure 1.15. Click on the selection tool to return of out the edit link mode (Figure 1.8). Now, drag the particlebeam.eff, found in the Particle Effects rollout, and place it next to your SceneObject.
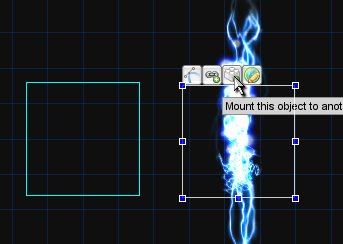
Figure 1.16
In the particle beam's quick edit tab, click on the mount button (Figure 1.16). When the particle is mounted to your cursor for placement, notice the yellow crosshairs where we placed our link point in the SceneObject! (next page, Figure 1.17)

Figure 1.17
When you bring the cursor close to the crosshairs, it will snap to those coordinates. Click again with your mouse to complete the mounting operation.
Working the Edit Tab
Let's learn a bit more about how to modify mounted objects using the Level Builder. Click on the SceneObject. If it is hard to select from the scene view, you can always select the object from the Project Tab, under the Object Tree. Once you have the SceneObject selected, click on the Edit Tab and open up the Mounting rollout. There will be 2 fields you can edit the values of.
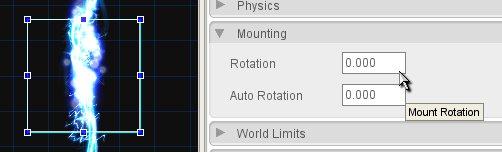
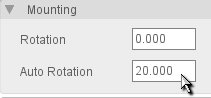
Figure 1.18
The first field, Rotation, will rotate the mounted object or mount system. An important point: the SceneObject will not be rotated, only the particle effect that is mounted to it.
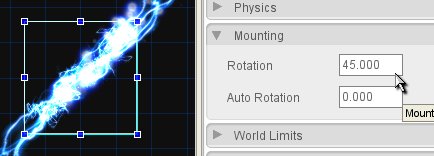
Figure 1.19
The next field, Auto Rotation, sets the degrees per second rotation of the particle effect. Try it out, you can see it rotate within the scene view. Leave it rotating for the next part.
 s s | 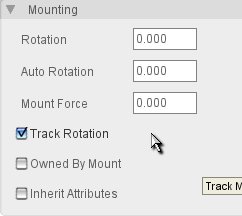 |
| Figure 1.20 | Figure 1.21 |
We've now seen what you can modify from the SceneObject that the particle was mounted to, let's look at the options in the mounting rollout for the particle itself. Select the particle effect and go to the Edit Tab again. Under this particular Mounting rollout (Figure 1.21), we have a few more options.
Rotation and Auto Rotation will not do anything if modified because these fields only apply to the object that we mounted to, not the object that is mounted.
Mount Force is the force constantly applied to the object allowing it to 'chase' the specified mount point. A force of 0 indicates that the mount is rigid and will track the mount-point perfectly every frame.
The Track Rotation checkbox specifies that this object should always track the target's rotation when checked. If you uncheck this box, you can see that the particle effect stops rotating. Check it again and it will continue to rotate.
Owned By Mount, when checked, indicates whether the object is to be owned by the object its mounting to. What this means is that when the object that we are mounting to is deleted, this object is automatically deleted. This is extremely useful for objects that are mounted that you don't want to explicitly track.
If you check Inherit Attributes, this indicates whether the object inherits attributes from the object being mounted to. At the moment, the following attributes are inherited: Enabled, Visible, Paused and Flip.
Conclusion
Hopefully you have a better understanding now of mounts and the TGB mounting system. As a final note for this tutorial, in our last example we rotated an object at the center of the square SceneObject box. This is also known as it's pivot point. Any mounted object, regardless of where the mount point is, will rotate around this pivot point. This means, if you mounted the particle effect towards the edge of the square and set it to rotate, it does not rotate around the mount point where you clicked, but instead around the pivot point in the center of the square. At the moment, this is an intended feature of TGB and not a bug.
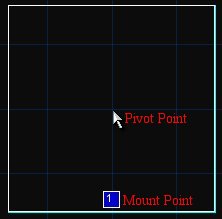
Figure 1.22
Thanks for reading!
|


